Set Up Secure WebSocket
Introduction
Ensuring secure WebSocket communication is crucial for maintaining the integrity and security of a Polkadot or Kusama node when interacting with remote clients. This guide walks you through setting up a secure WebSocket (WSS) connection for your node by leveraging SSL encryption with popular web server proxies like nginx or Apache.
By the end of this guide, you'll be able to secure your node's WebSocket port, enabling safe remote connections without exposing your node to unnecessary risks. The instructions in this guide are for UNIX-based systems.
Secure a WebSocket Port
You can convert a non-secured WebSocket port to a secure WSS port by placing it behind an SSL-enabled proxy. This approach can be used to secure a bootnode or RPC server. The SSL-enabled apache2/nginx/other proxy server redirects requests to the internal WebSocket and converts it to a secure (WSS) connection. You can use a service like LetsEncrypt to obtain an SSL certificate.
Obtain an SSL Certificate
LetsEncrypt suggests using the Certbot ACME client for your respective web server implementation to get a free SSL certificate:
LetsEncrypt will auto-generate an SSL certificate and include it in your configuration.
When connecting, you can generate a self-signed certificate and rely on your node's raw IP address. However, self-signed certificates aren't optimal because you must include the certificate in an allowlist to access it from a browser.
Use the following command to generate a self-signed certificate using OpenSSL:
sudo openssl req -x509 -nodes -days 365 -newkey rsa:2048 -keyout /etc/ssl/private/selfsigned.key -out /etc/ssl/certs/selfsigned.crt
sudo openssl dhparam -out /etc/ssl/certs/dhparam.pem 2048
Install a Proxy Server
There are a lot of different implementations of a WebSocket proxy; some of the more widely used are nginx and apache2, both of which are commonly used web server implementations. See the following section for configuration examples for both implementations.
Use nginx
-
Install the
nginxweb server: -
In an SSL-enabled virtual host, add:
-
Optionally, you can introduce some form of rate limiting:
Use Apache2
Apache2 can run in various modes, including prefork, worker, and event. In this example, the event mode is recommended for handling higher traffic loads, as it is optimized for performance in such environments. However, depending on the specific requirements of your setup, other modes like prefork or worker may also be appropriate.
-
Install the
apache2web server: -
The
mod_proxy_wstunnelprovides support for the tunneling of WebSocket connections to a backend WebSocket server. The connection is automatically upgraded to a WebSocket connection. In an SSL-enabled virtual host add: -
Optionally, some form of rate limiting can be introduced by first running the following command:
Then edit
/etc/apache2/mods-available/qos.confas follows:
Connect to the Node
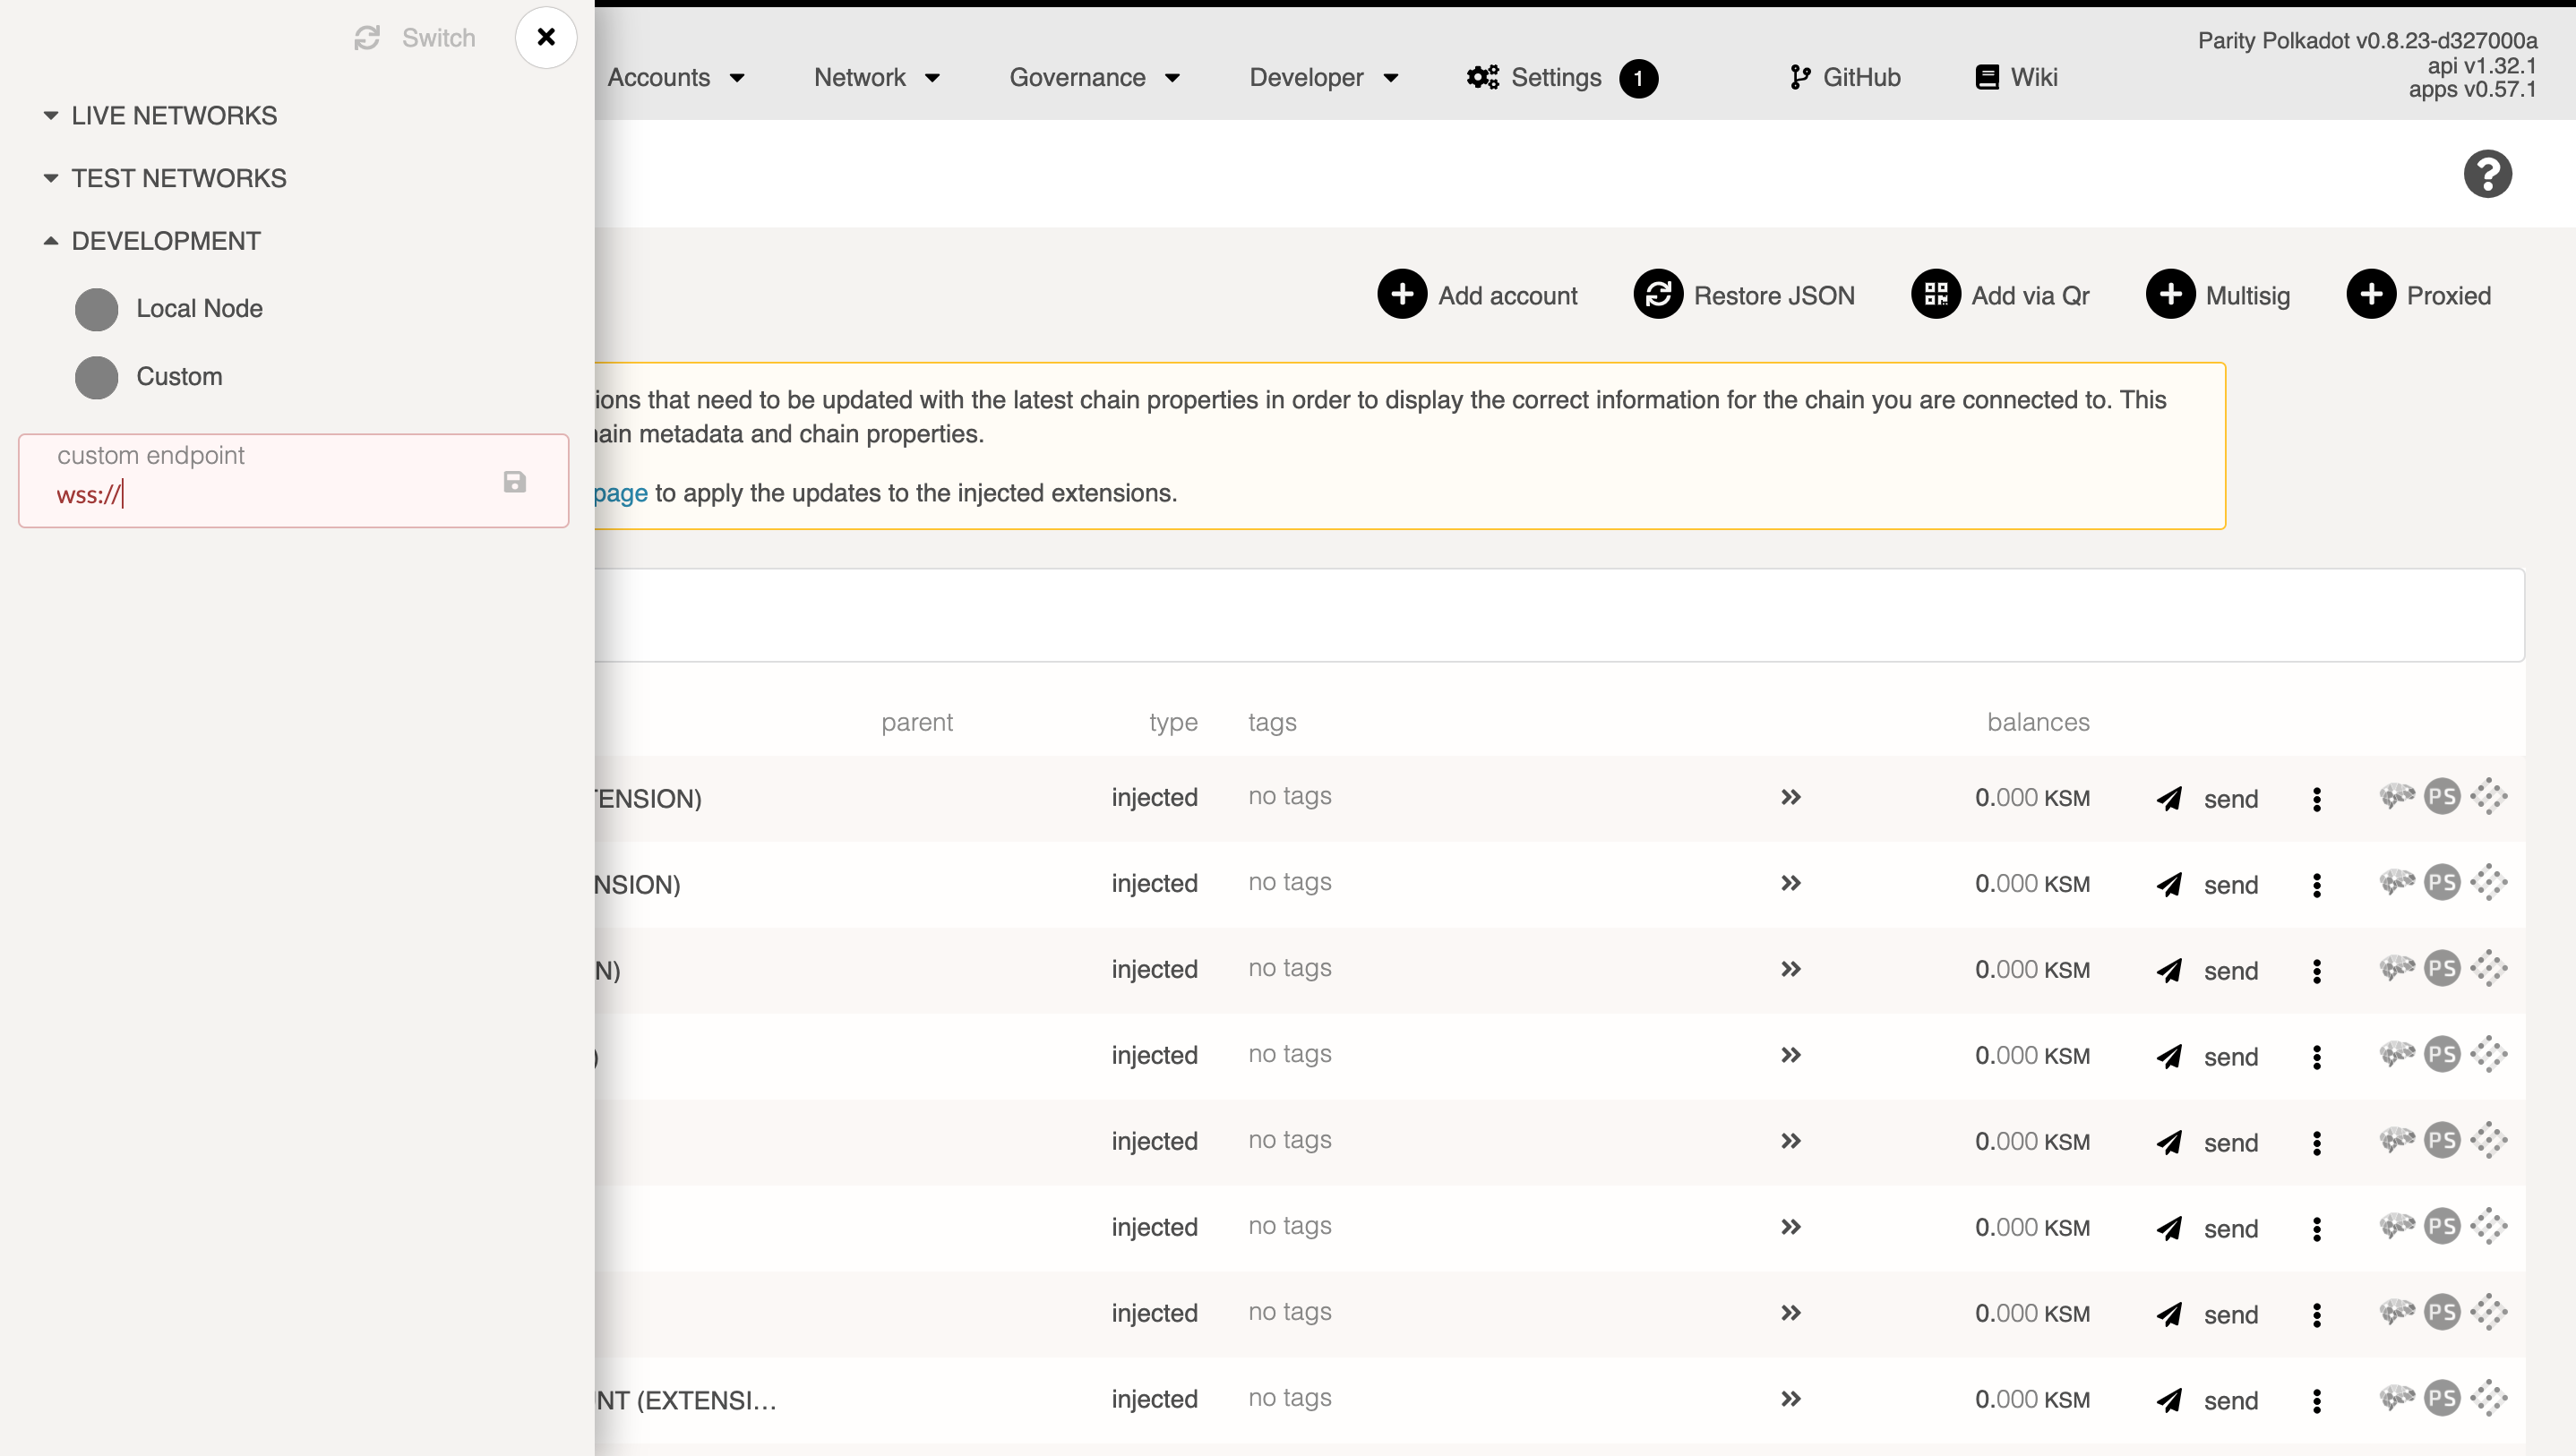
- Open Polkadot.js Apps interface and click the logo in the top left to switch the node.
-
Activate the Development toggle and input either your node's domain or IP address. Remember to prefix with
wss://and, if you're using the 443 port, append:443as follows:
| Created: February 12, 2025
