Spawn a Basic Chain with Zombienet
BeginnerIntroduction
Zombienet simplifies blockchain development by enabling developers to create temporary, customizable networks for testing and validation. These ephemeral chains are ideal for experimenting with configurations, debugging applications, and validating functionality in a controlled environment.
In this guide, you'll learn how to define a basic network configuration file, spawn a blockchain network using Zombienet's CLI, and interact with nodes and monitor network activity using tools like Polkadot.js Apps and Prometheus
By the end of this tutorial, you'll be equipped to deploy and test your own blockchain networks, paving the way for more advanced setups and use cases.
Prerequisites
To successfully complete this tutorial, you must ensure you've first:
- Installed Zombienet. This tutorial requires Zombienet version
v1.3.133. Verify that you're using the specified version to ensure compatibility with the instructions. - Reviewed the information in Configure Zombienet and understand how to customize a spawned network.
Set Up Local Provider
In this tutorial, you will use the Zombienet local provider (also called native provider) that enables you to run nodes as local processes in your development environment.
You must have the necessary binaries installed (such as polkadot and polkadot-parachain) to spin up your network successfully.
To install the required binaries, use the following Zombienet CLI command:
This command downloads the following binaries:
polkadotpolkadot-execute-workerpolkadot-parachainpolkadot-prepare-worker
Finally, add these binaries to your PATH environment variable to ensure Zombienet can locate them when spawning the network.
For example, you can move the binaries to a directory in your PATH, such as /usr/local/bin:
sudo mv ./polkadot ./polkadot-execute-worker ./polkadot-parachain ./polkadot-prepare-worker /usr/local/bin
Define the Network
Zombienet uses a configuration file to define the ephemeral network that will be spawned. Follow these steps to create and define the configuration file:
-
Create a file named
spawn-a-basic-network.toml: -
Add the following code to the file you just created:
This configuration file defines a network with the following chains:
- relaychain: With two nodes named
aliceandbob. - parachain: With a collator named
collator01.
Settings also defines a timeout of 120 seconds for the network to be ready.
Spawn the Network
To spawn the network, run the following command:
This command will spawn the network defined in the spawn-a-basic-network.toml configuration file. The -p native flag specifies that the network will be spawned using the native provider.
If successful, you will see the following output:
| Network launched 🚀🚀 | ||
|---|---|---|
| Namespace | zombie-75a01b93c92d571f6198a67bcb380fcd | |
| Provider | native | |
| Node Information | ||
| Name | alice | |
| Direct Link | https://polkadot.js.org/apps/?rpc=ws://127.0.0.1:55308#explorer | |
| Prometheus Link | http://127.0.0.1:55310/metrics | |
| Log Cmd | tail -f /tmp/zombie-794af21178672e1ff32c612c3c7408dc_-2397036-6717MXDxcS55/alice.log | |
| Node Information | ||
| Name | bob | |
| Direct Link | https://polkadot.js.org/apps/?rpc=ws://127.0.0.1:55312#explorer | |
| Prometheus Link | http://127.0.0.1:50634/metrics | |
| Log Cmd | tail -f /tmp/zombie-794af21178672e1ff32c612c3c7408dc_-2397036-6717MXDxcS55/bob.log | |
| Node Information | ||
| Name | collator01 | |
| Direct Link | https://polkadot.js.org/apps/?rpc=ws://127.0.0.1:55316#explorer | |
| Prometheus Link | http://127.0.0.1:55318/metrics | |
| Log Cmd | tail -f /tmp/zombie-794af21178672e1ff32c612c3c7408dc_-2397036-6717MXDxcS55/collator01.log | |
| Parachain ID | 100 | |
| ChainSpec Path | /tmp/zombie-794af21178672e1ff32c612c3c7408dc_-2397036-6717MXDxcS55/100-rococo-local.json | |
Note
If the IPs and ports aren't explicitly defined in the configuration file, they may change each time the network is started, causing the links provided in the output to differ from the example.
Interact with the Spawned Network
After the network is launched, you can interact with it using Polkadot.js Apps. To do so, open your browser and use the provided links listed by the output as Direct Link.
Connect to the Nodes
Use the 55308 port address to interact with the same alice node used for this tutorial. Ports can change from spawn to spawn so be sure to locate the link in the output when spawning your own node to ensure you are accessing the correct port.
If you want to interact with the nodes more programmatically, you can also use the Polkadot.js API. For example, the following code snippet shows how to connect to the alice node using the Polkadot.js API and log some information about the chain and node:
import { ApiPromise, WsProvider } from '@polkadot/api';

async function main() {
  const wsProvider = new WsProvider('ws://127.0.0.1:55308');
  const api = await ApiPromise.create({ provider: wsProvider });

  // Retrieve the chain & node information via rpc calls
  const [chain, nodeName, nodeVersion] = await Promise.all([
    api.rpc.system.chain(),
    api.rpc.system.name(),
    api.rpc.system.version(),
  ]);

  console.log(
    `You are connected to chain ${chain} using ${nodeName} v${nodeVersion}`
  );
}

main()
  .catch(console.error)
  .finally(() => process.exit());
Both methods allow you to interact easily with the network and its nodes.
Check Metrics
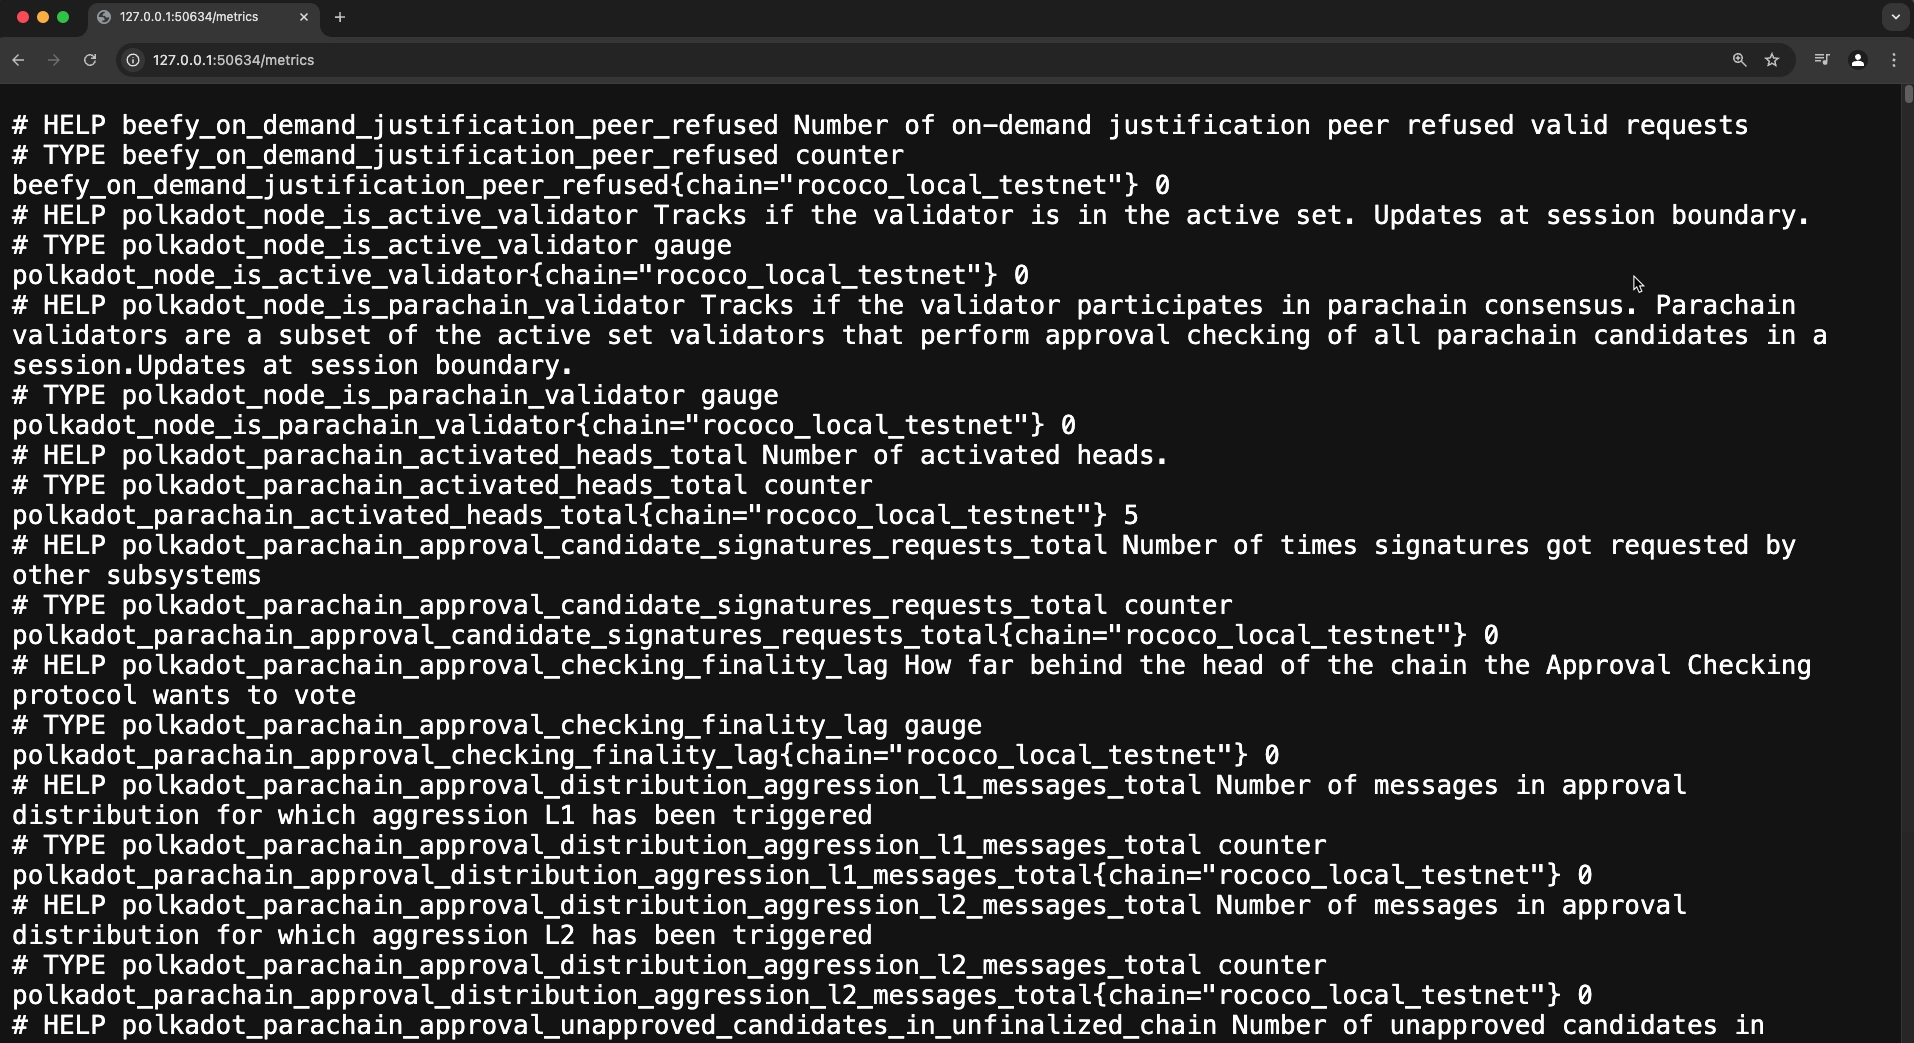
You can also check the metrics of the nodes by accessing the links provided in the output as Prometheus Link. Prometheus is a monitoring and alerting toolkit that collects metrics from the nodes. By accessing the provided links, you can see the metrics of the nodes in a web interface. So, for example, the following image shows the Prometheus metrics for Bob's node from the Zombienet test:
Check Logs
To view individual node logs, locate the Log Cmd command in Zombienet's startup output. For example, to see what the alice node is doing, find the log command that references alice.log in its file path. Note that Zombienet will show you the correct path for your instance when it starts up, so use that path rather than copying from the below example:
After running this command, you will see the logs of the alice node in real-time, which can be useful for debugging purposes. The logs of the bob and collator01 nodes can be checked similarly.
| Created: November 22, 2024
